Optical Illusions
Tower-Defense
Roguelite Platformer
"IOT" Prototype
This Website
2023 Internship
Samuel Hilfer
Game/Web Developer
Some of my recent projects featuring VR/2D/3D Unity Gameplay, Web developments, and IOT experiments can be found above.
Feel free to reach out to my socials found at the bottom of the page with any questions you may have.
A Different Perspective On Illusions
In my third year of college, I took an AR/VR development course at my university. As a result of this course, I wound up developing a prototype for a VR optical-illusion game. Below is a demo video I made to showcase this prototype.
The summarized form of the mechanic is this:
There are two raycasts sent out from the center of the player's headset.
One identifies objects that can be interacted with. This raycast is responsible for "picking up" the aimed at object while also gathering all transform elements/variables of the object (scale, position, orientation) the moment the player presses the "grab" button.
The other raycast (named "targetForTakenObj") ignores all interactable objects and passes through them to detect the boundary of the surrounding environment in-front of the player.
The "picked up" object then has its position changed to the position of "targetForTakenObj" (i.e. it is made a child object of the player's "crosshair" at the distance it was from the player when they picked it up). This all occurs the first moment (frame) after the player presses the grab button. From the second frame onward, as the player looks around the room, the position of the object will continually update as we try to place the object flush against the surface our second ray is aiming at (against the boundary of the room).
In order to create the illusion where the object scales up the further it gets from the player while seeming to remain the same size in the player's "hands". . . We first have to gather the current distance between the player's headset, and the object we picked up at its current, updated position.
objectDist = Vector3.Distance(mainCamera.position, takenObject.position);
We can divide that distance by the initial distance between the camera and the object, which we recorded "right before it was picked up", in order to calculate how much we need to scale up our object by.
(objectDist/originalDistance) = updatedScale
By then multiplying the original "local-scale" transform of the object by the updatedScale calculation, we can achieve the effect of making an object physically larger or smaller while appearing to remain the same size in the player's "hands".
Of course, thats not all there is to it, the actual calculations are more complex upon implementation, but this is my best attempt to summarize them.
Counting Down the Days
I had an idea for a fun, casual tower-defense game, which I could also use as a testing ground for mechanics I wanted to implement into my roguelite game. Before long, this small project became a highly involved process, and grew into something I plan to develop over the coming year. With only a few tasks left to complete, I expect an early Q2 2024 release for version 0.1.
It took me almost 7 months to complete a demo for this product while creating all the assets on my own. I deem this version 0.05 (out now on Steam - click the link above!). Version 0.1 is coming along quickly though, I recently finalized an additional game mode for the title.
A "Rogue" Experience
Throughout my years of playing games, there have always been a few genres that immediately pique my interest when I see new title releases. Games that utilize either the Roguelite, or Rogue-like genres (or in many cases, utilize both) always intrigue me, regardless of their actual gameplay.
So after gathering a general understanding of Unity, I decided to start pursuing my dream project. I knew it would be a long arduous progress that I would wind up changing many times over. But I also knew I'd never get anywhere if I didn't try.
So I began creating with a general concept in mind, exploring anything I thought would be interesting, and wound up with the prototype below.
It was a top-down prototype, which generated levels using a "block" system, matching up the openings in each pre-made section to create a path through the level grid. This level generation method is the same type that games like "Spelunky" use. There was nothing fun about it, but it got me interested in developing, and led me to my next version. I wound up not liking the block system generation, the level structure didn't feel natural, even after filling in the blocks with points of interest. Thereby, I decided to recreate the system and learn a bit about how to utilize Random Walk and Binary Space Partitioning algorithms in Unity in the process.
Again however, it felt generic. I enjoyed the process of drawing new art, and playing with new mechanics, but the experience felt stale overall, and I didn't have many good ideas to move forward with or even a solid design structure to act on. In large part, I was winging the development of this project up until this point. It was around this time when I met a like-minded developer who was equally excited about the idea of developing a game. I pitched them the general idea for the project I had been working on, and we began planning out the process together. This structure, combined with the addition of an interested party caused the project to begin taking shape quicker than any attempts prior. After a few months, the prototype below was functional, and I was still just as excited about pursuing this version of the project as I was when I first began.
However, after then unexpectedly running into physics issues, I had to completely rework the project, building a custom velocity-based physics system to handle ramp and moving platform interactions. In doing so, all interactions felt smoother, and the project reached the state you see below.
IOT: Innovating Our Tomorrow
| Total Time Spent on Code: | 13-15 hrs |
| Circuit Systems Construction: | 4 hrs |
| "Game Cabinet" Construction: | 10-12 hrs |
In my Junior year of college, I took a University course that served as an intro to physical systems engineering. In this course, I worked with a team on projects such as a pedometer, gesture sensing unit, and a battery percentage calculator using an "Arduino Uno" and self-constructed circuits.
What our team was most proud of, however, was the final project we created. We were given complete freedom to build any sort of IOT-based physical project. What we came up with was constructing this mock "classic game cabinet" which you can see in action below.
Webbed Up
This website itself is also one of my individual projects! After having graduated with a Computer Science degree program, I have come to realize that I truly love the creative aspects of this field. Meanwhile, a lot of the more complex subjects, such as security implementation, I find hard to fully understand, or simply disinterest me. For these reasons (and the desire/need to have a public portfolio), I decided to learn how to build my own website from scratch.
This web page was constructed using a mix of the three languages listed below, JavaScript, HTML, and CSS.
While this page mainly serves as a proof of concept for my web design skills, as well as a public portfolio for my projects, I plan to keep iterating upon this design in the future. I plan on adding an email contact form so that visitors like yourself can reach-out directly from the site. I also plan on integrating a database, not only to handle all of the media on this site, but also to handle merchandise I may eventually make that relates to the game I am building.
An Amazing Experience
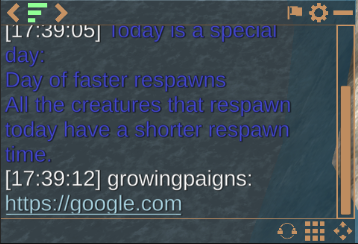
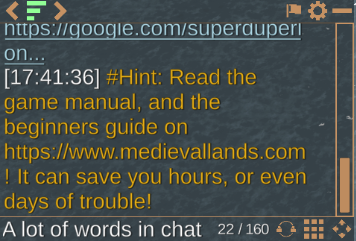
Over summer (June-Aug, 2023) I acted as a UI/UX Development and World Building intern at Castix LLC. In this role, I began by implementing a client-chat feature, and some quality of life chat additions for the company's upcoming MMO title.
This task required I utilize Unity's TextMeshPro components, and related pseudo-HTML stylings, in order to detect when a URL gets posted to the established chat system. After detecting the URL, I had to set up a security feature which would either mark a link as "Whitelisted", "Blacklisted", or "Unlisted".
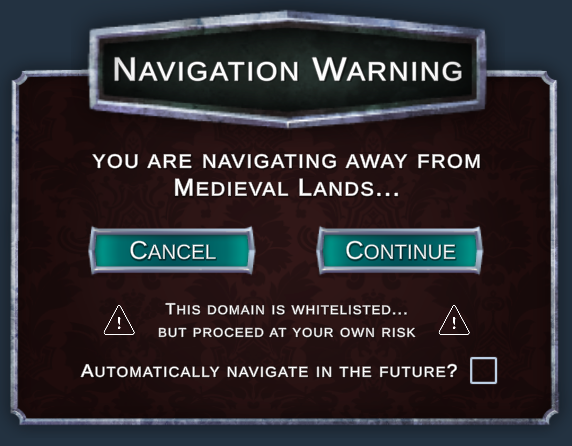
A whitelisted URL would appear as a user normally expects. Underlined/blue in color, and it would navigate the user to the related website after being clicked on. In relation to this specific type of link, I was also tasked with creating a pop-up graphic that asked the user to confirm if they actually wanted to navigate away from the game, to the page. This graphic would further give the user the option to add the URL to their "personal-whitelist" before navigating, so that the confirmation window will no longer pop up in the future, making the user automatically navigate to the related page.
An unlisted URL simply gets underlined, but remains white in color, and cannot be interacted with.

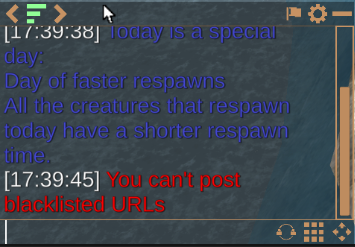
A blacklisted URL never gets sent to the chat, and the user gets a server message telling them that blacklisted URLs cannot be posted.
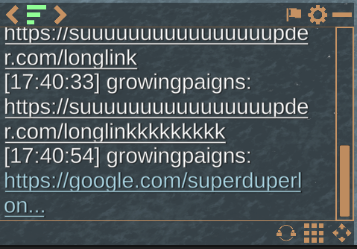
Beyond this, while completing the above task, I also implemented a "character counter" in the chat that restricted a player's message to 160 characters in length. This led to the need to also add a few other quality of life features like, shortening the names of links that can be clicked on, detecting and countering chat spam, or being able to disable the visual for said character counter.

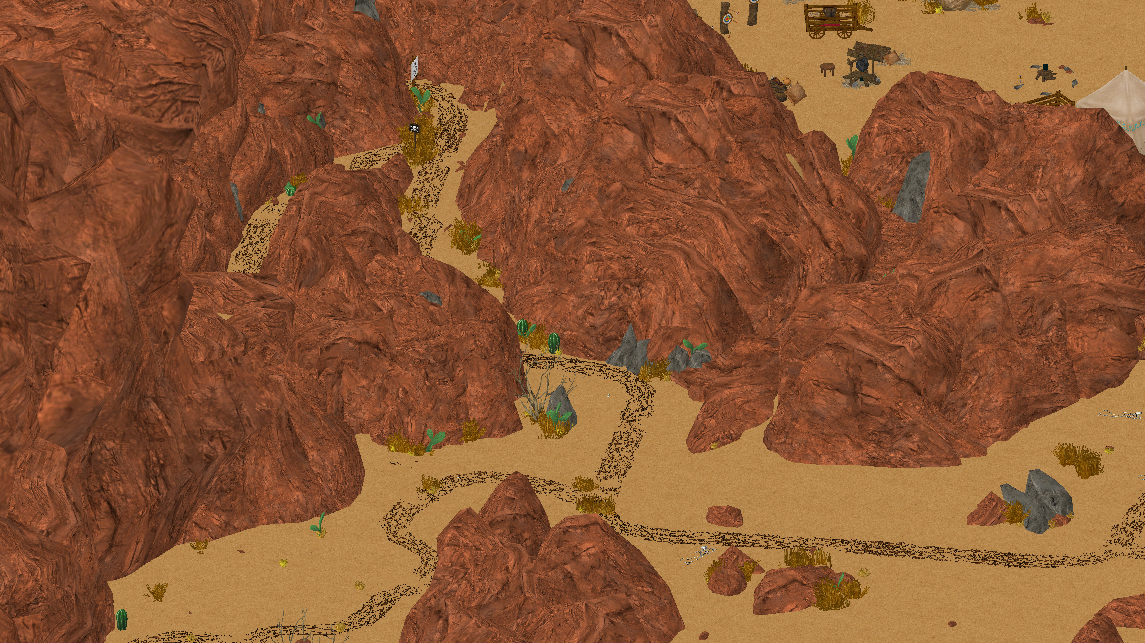
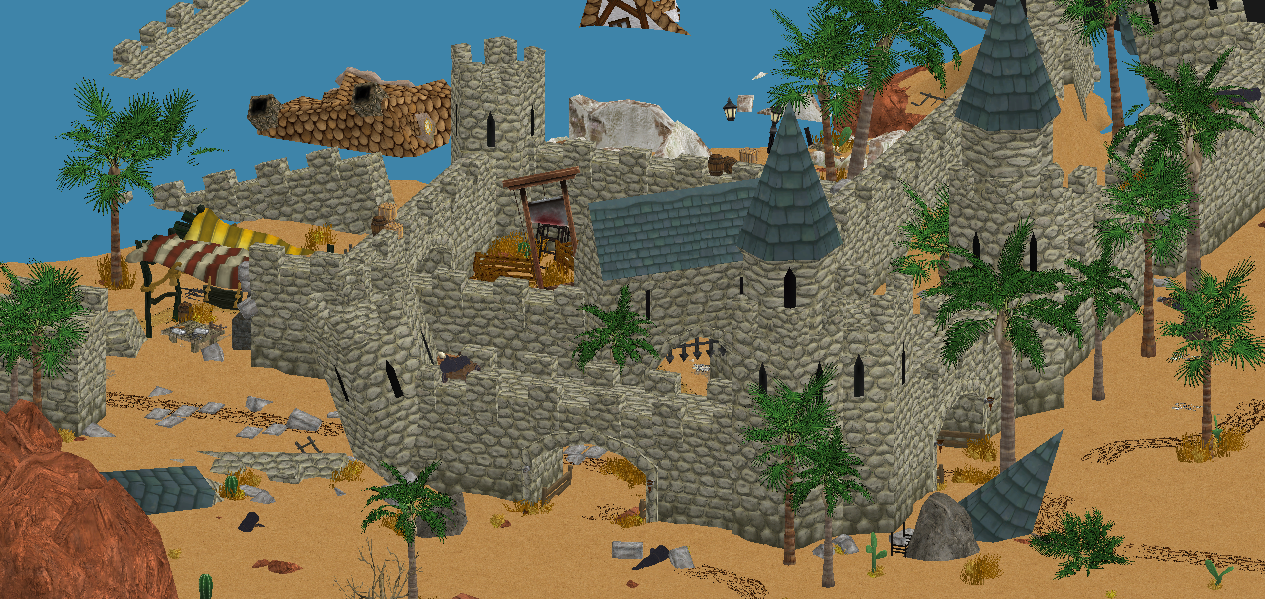
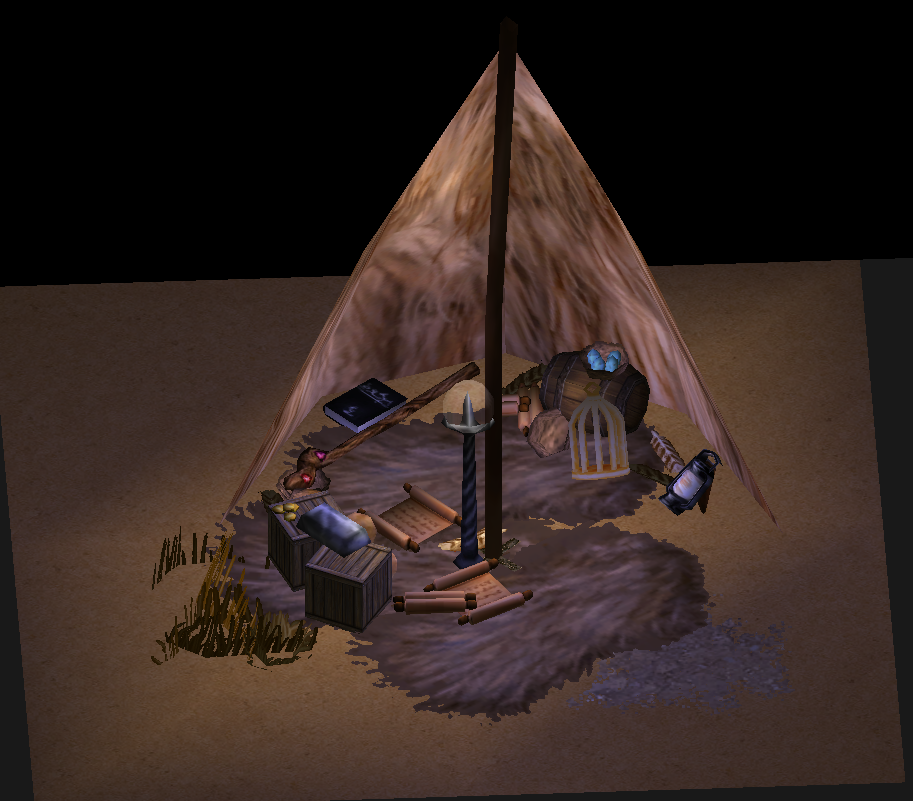
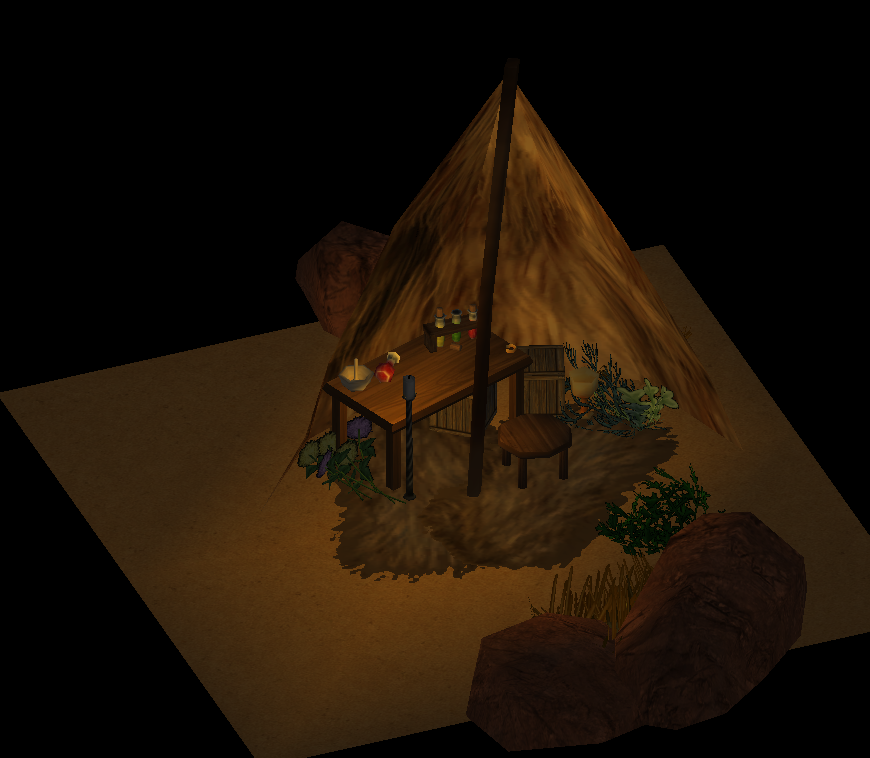
After I completed my Unity development tasks, I was also responsible for building a captivating 3D desert landscape map. I was given limited lore/design direction requrements from the stakeholders, and excercised full creative control in developing the extent of the map. I produced extravagant, and twisting mountain passages, a war torn capitol of the past that has begun to be reclaimed by the ocean, and a bustling, lively nomad village, to name just a few elements. Each of the nomad tents can be entered and have unique, hand-crafted interiors. There are also other secrets around the map like hidden mountain passages, and an island with treasure that has a scenic view of the nearby ship graveyard.